Inventory
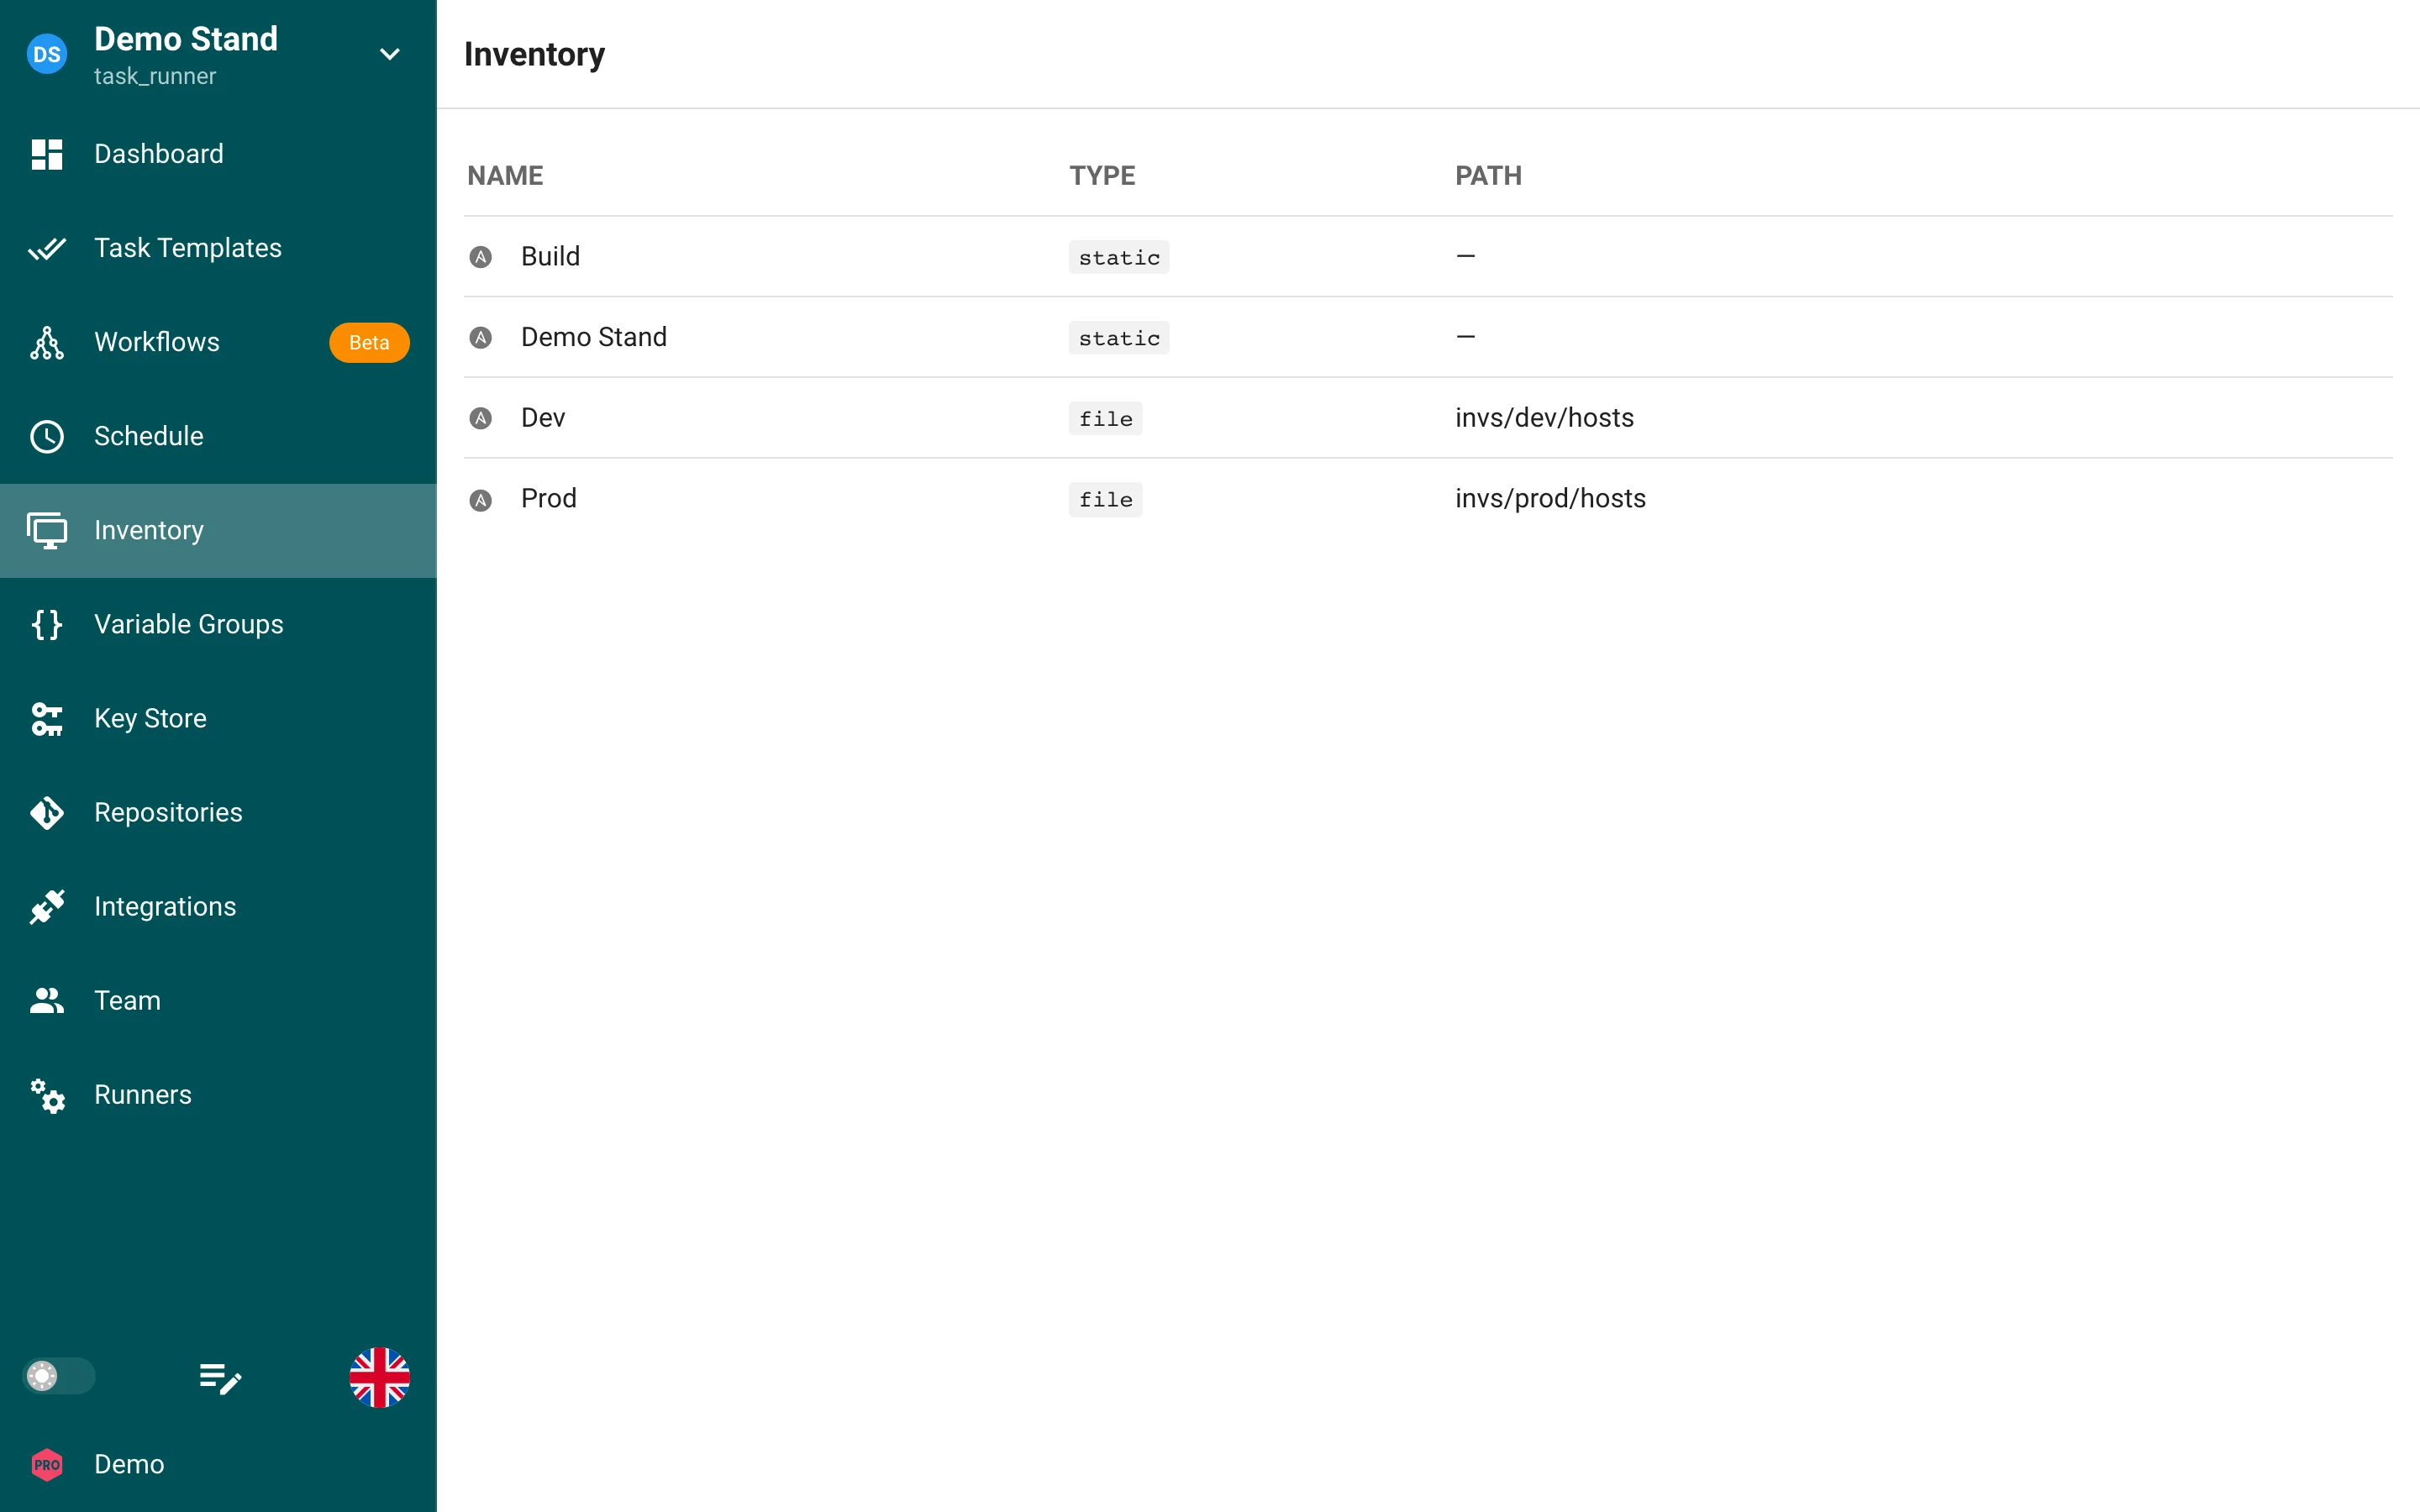
An Inventory is a file that contains a list of hosts Ansible will run plays against. An Inventory also stores variables that can be used by playbooks. An Inventory can be stored in YAML, JSON, or TOML. More information about Inventories can be found in the Ansible Documentation.
Semaphore UI can either read an Inventory from a file on the server that the Semaphore user has read access to, or a static Inventory that is edited via the web GUI. Each Inventory also has at least one credential tied to it. The user credential is required, and is what Ansible uses to log into hosts for that Inventory. Sudo credentials are used for escalating privileges on that host. It is required to have a user credential that is either a username with a login, or SSH configured in the Key Store to create an Inventory. Information about credentials can be found in the Key Store section of this site.
Inventory types
| Type | Description |
|---|---|
static | Inventory in INI format edited in the web UI. |
static-yaml | Inventory in YAML format edited in the web UI. Use it for plugin inventories such as NetBox or Consul. |
file | Path to an inventory file. A relative path points into the repository of the template, an absolute path to a file on the server. Optionally select a separate Inventory repository if the file lives in another Git repository. |
terraform-workspace, tofu-workspace, terragrunt-workspace | Not an Ansible inventory: a workspace for Terraform/OpenTofu and Terragrunt templates. |
Creating an Inventory
- Click on the Key Store tab and confirm you have a key that is a login_password or ssh type
- Click on the Inventory tab and click New Inventory
- Name the Inventory and select the correct user credential from the dropdown. Select the correct sudo credential, if needed
- Select the Inventory type
- If you select file, use the absolute path to the file. If this file is located in your git repo, then use relative path. Ex.
inventory/linux-hosts.yaml - If you select static or static-yaml, paste in or type your Inventory into the form
- Click Create.
Updating an Inventory
- Click on the Inventory tab
- Click the Pencil Icon next to the Inventory you want to edit
- Make your changes
- Click Save
Deleting an Inventory
Before you remove an Inventory, you must remove all resources tied to it. If you are not sure which resources are being used in an environment, follow steps 1 and 2 below. It will show you which resources are being used, with links to those resources.
- Click on the Inventory tab
- Click the trash can icon next to the Inventory
- Click Yes if you are sure you want to remove the Inventory